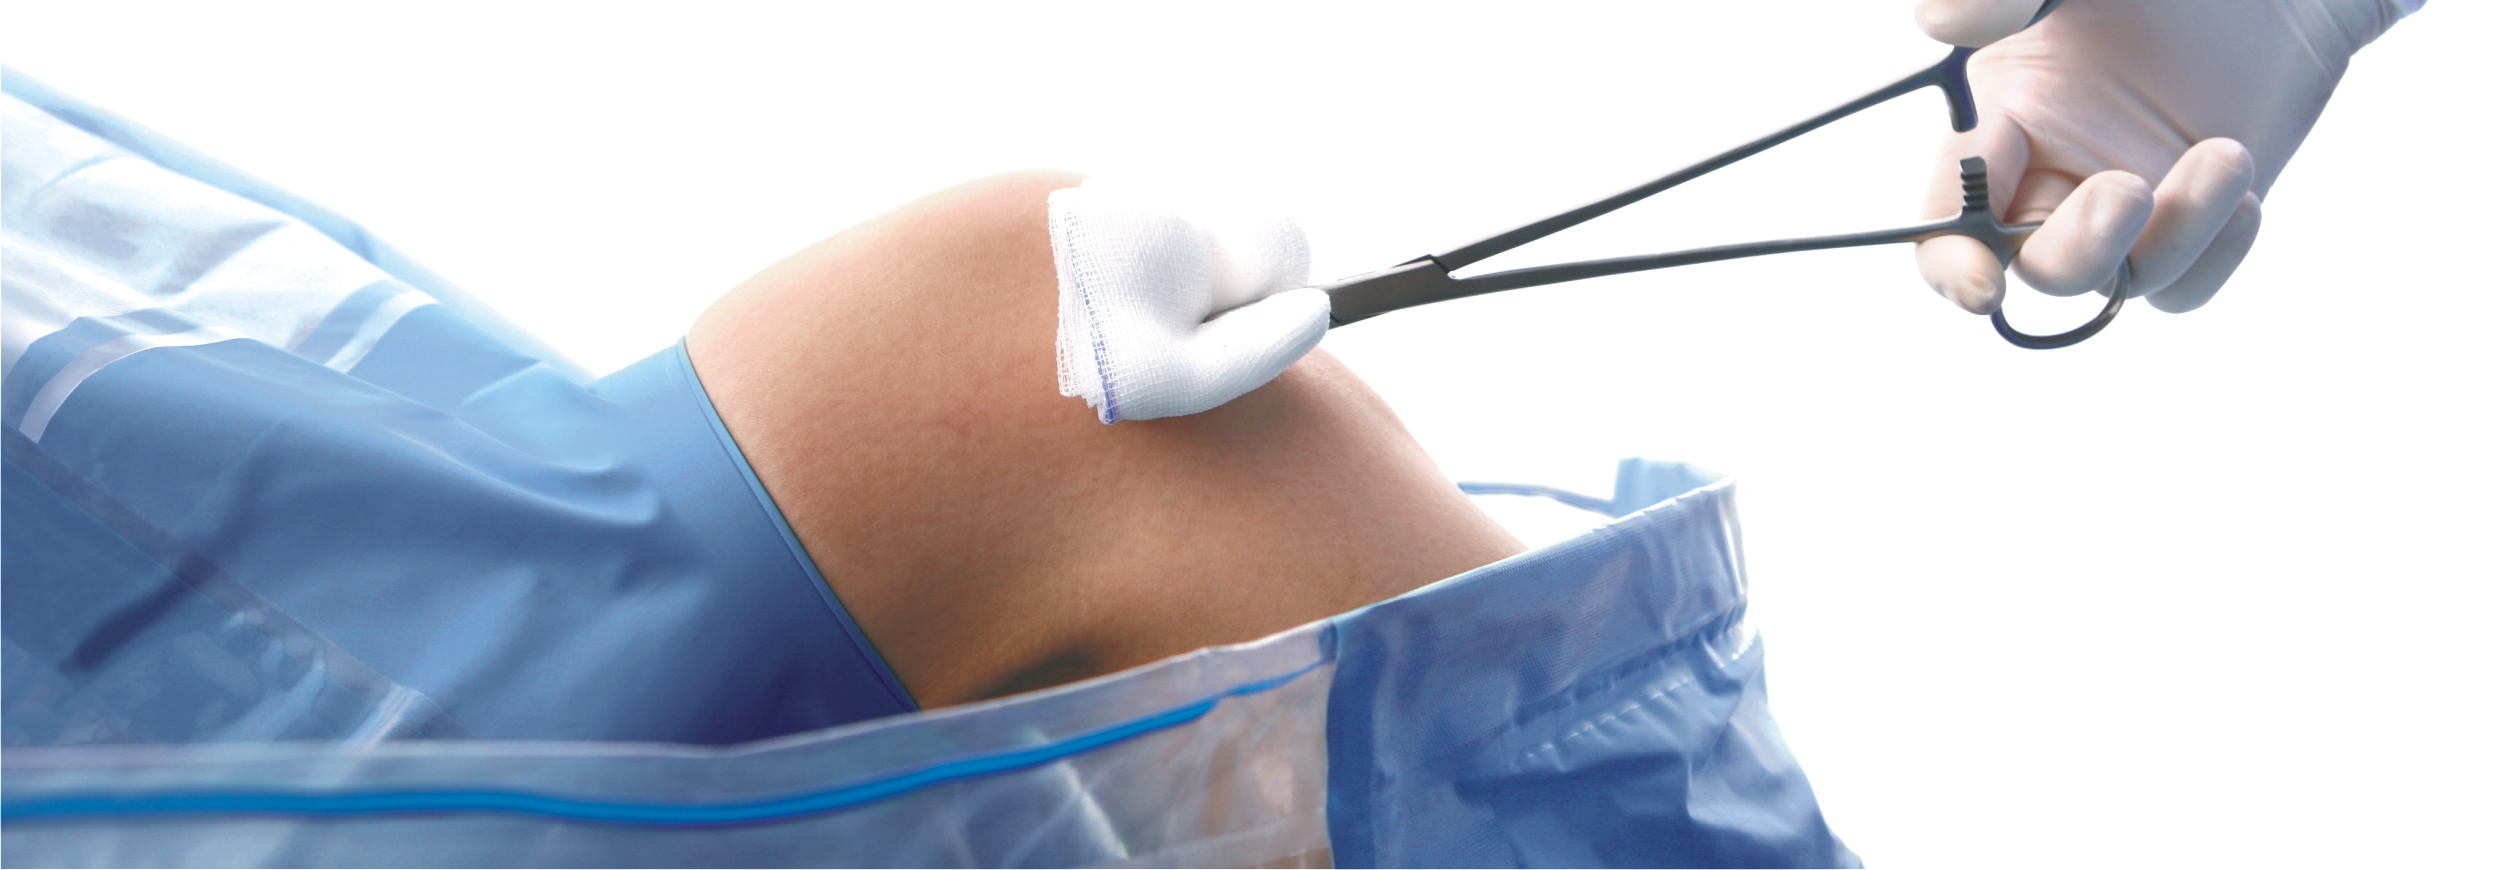
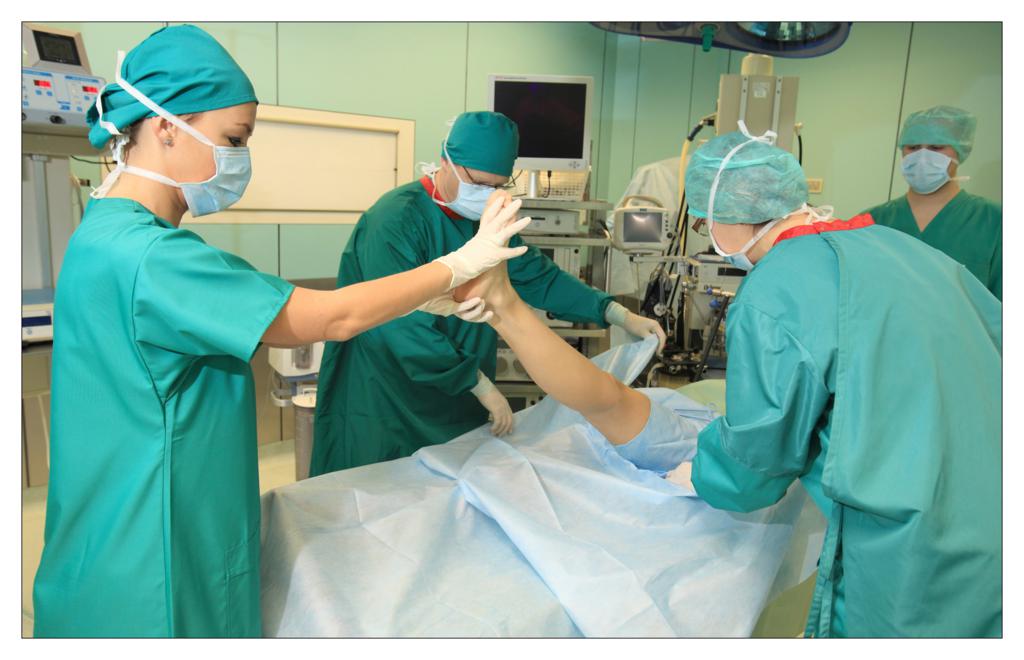
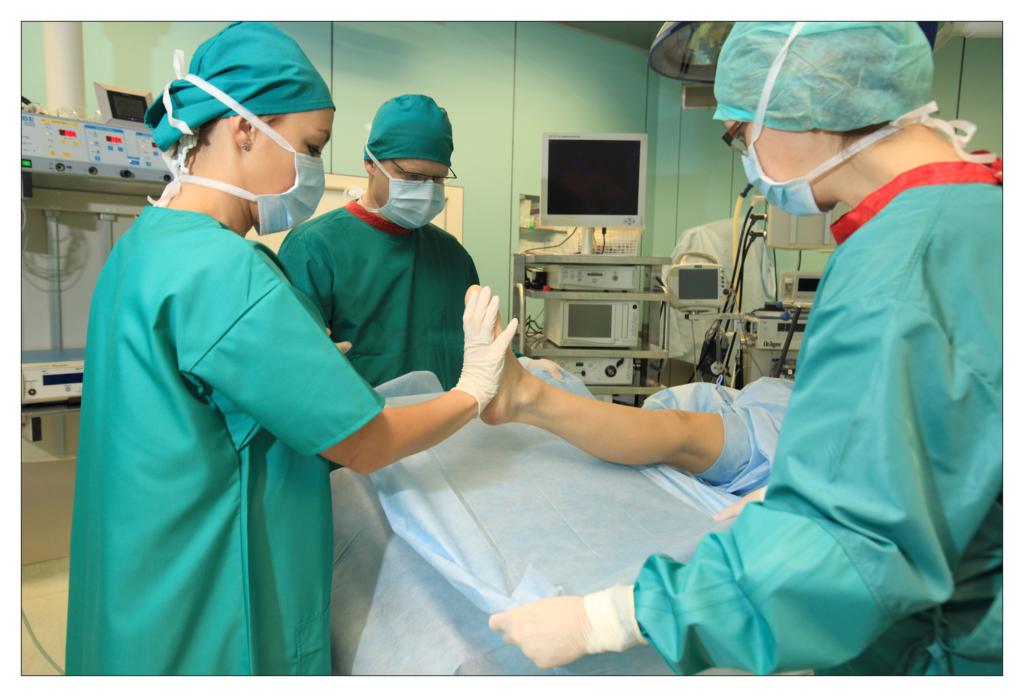
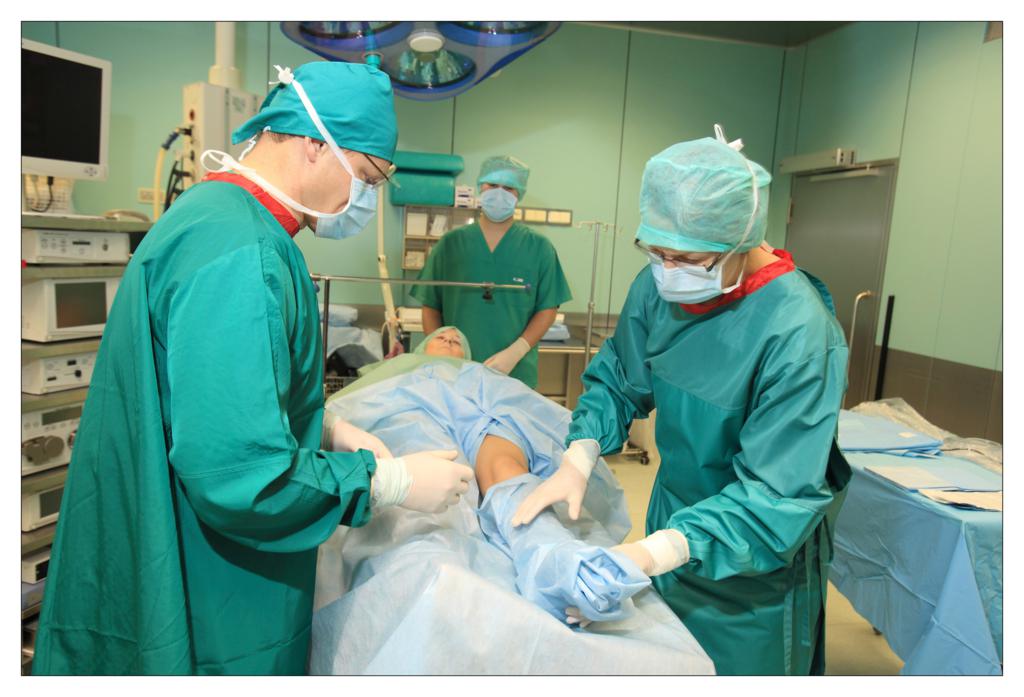
Surgical procedure – knee arthroscopy

image description

The operating room, a special place in the operating suite and throughout the hospital, it must comply with the relevant conditions providing safety for patient and staff – to carry out the operation. In the operating room there should be maintained increased health regime, so that it does not become a place where a patient can get infected. Accordingly, the operating room staff requires to maintain specific discipline, show high expertise and relevant skills.

Contemporary built operating suites have air-conditioned operating rooms, thus eliminating the need to install radiators in such places (habitat of dust and pathogenic microflora). The lack of windows also limits the access of air pollutants (mainly bacteria and fungi).

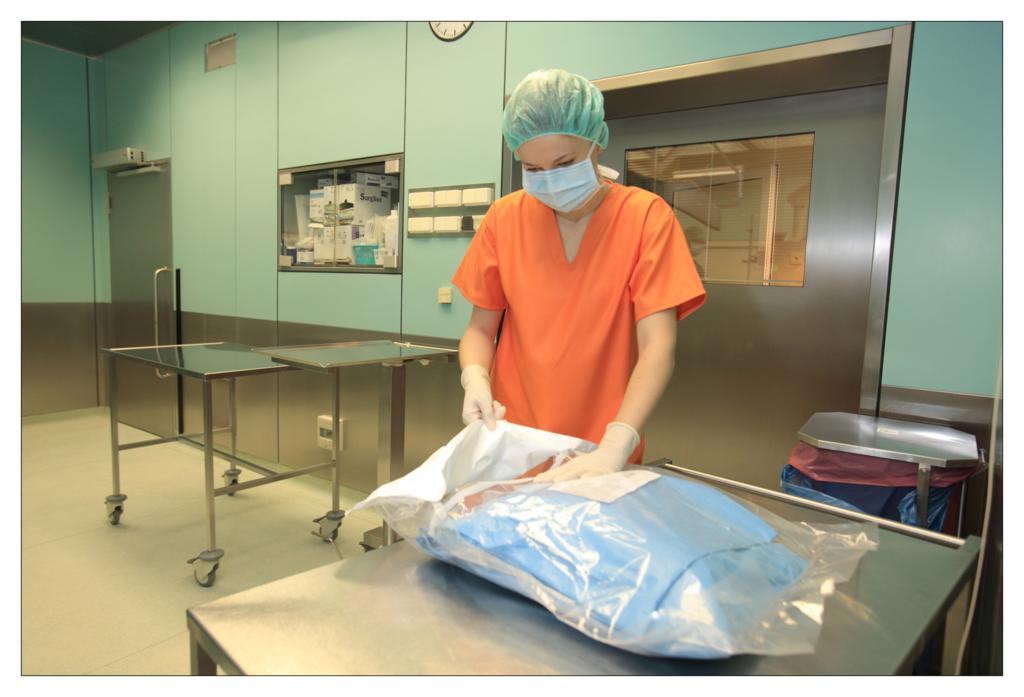
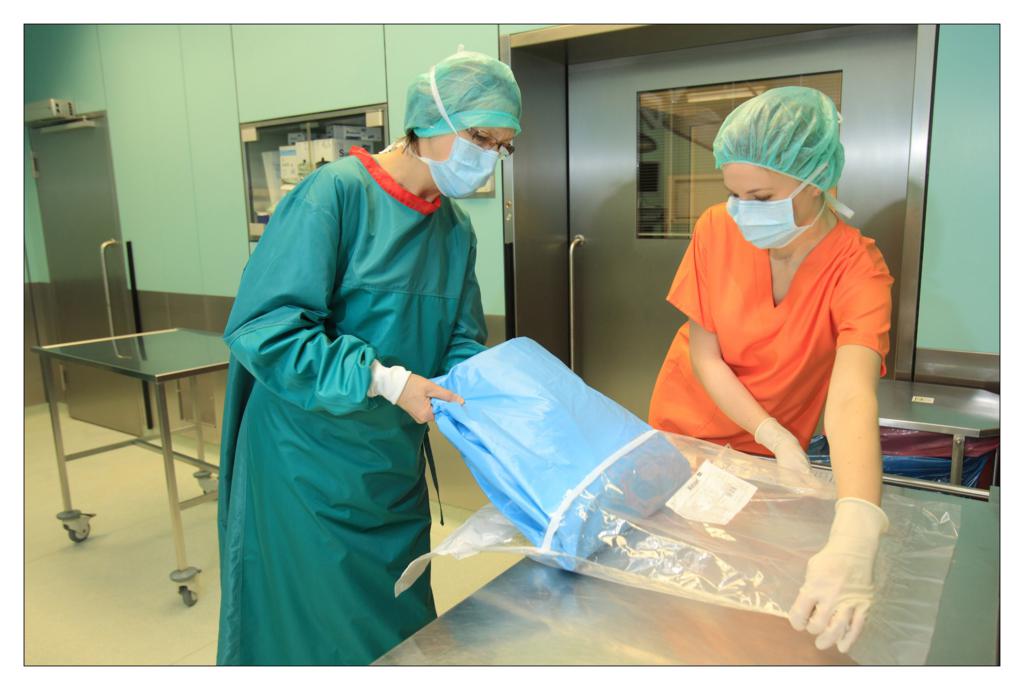
All the operating conditions should be created to safely perform surgical procedures, in accordance with the principles of asepsis. The layout of rooms forming the operating suite should be divided into a dirty, clean, and sterile area and force a one-way movement of staff, patients and sterile material. To ensure the safety of the performed procedure, attention should be paid to all the particular stages, starting with the preparation of material required for the procedure.

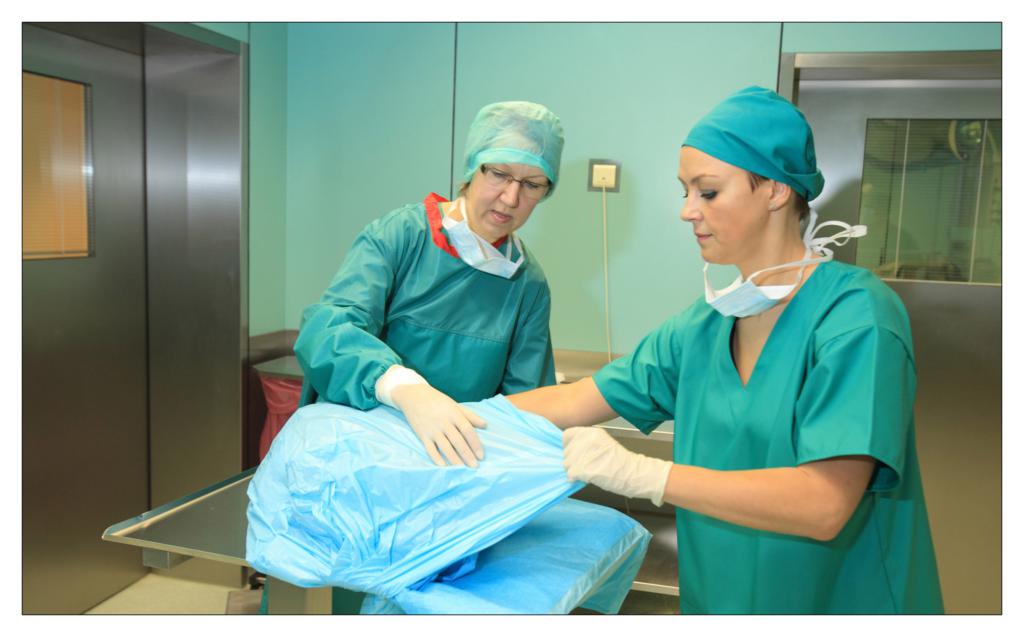
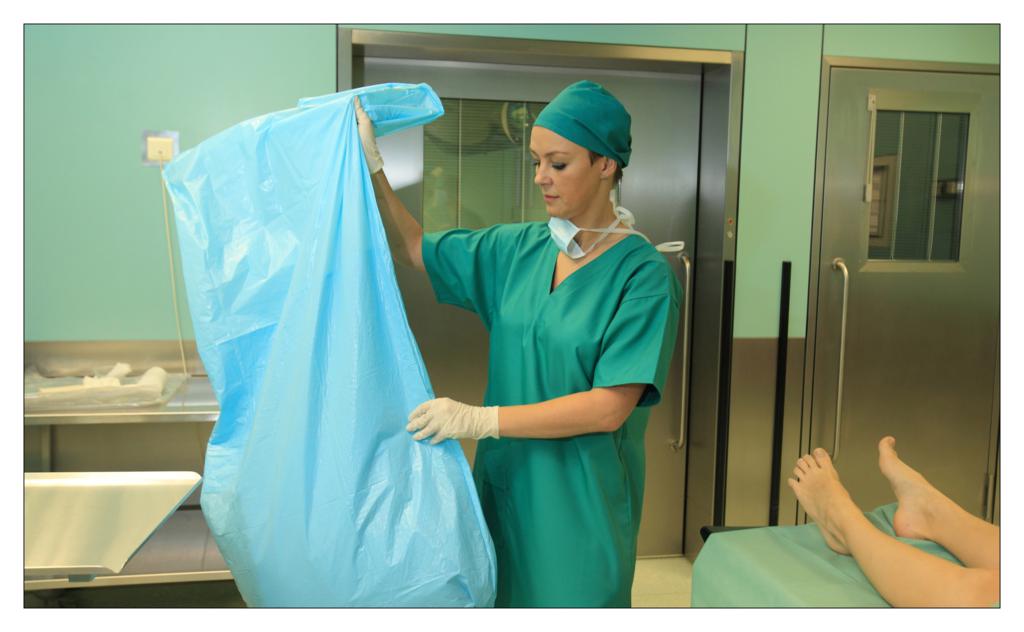
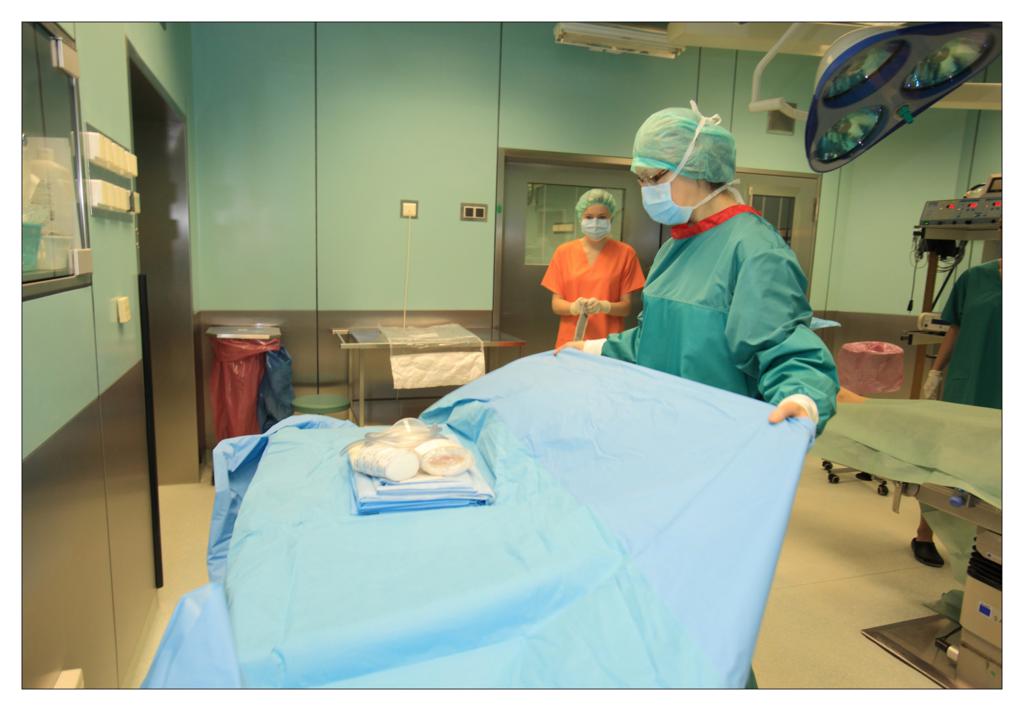
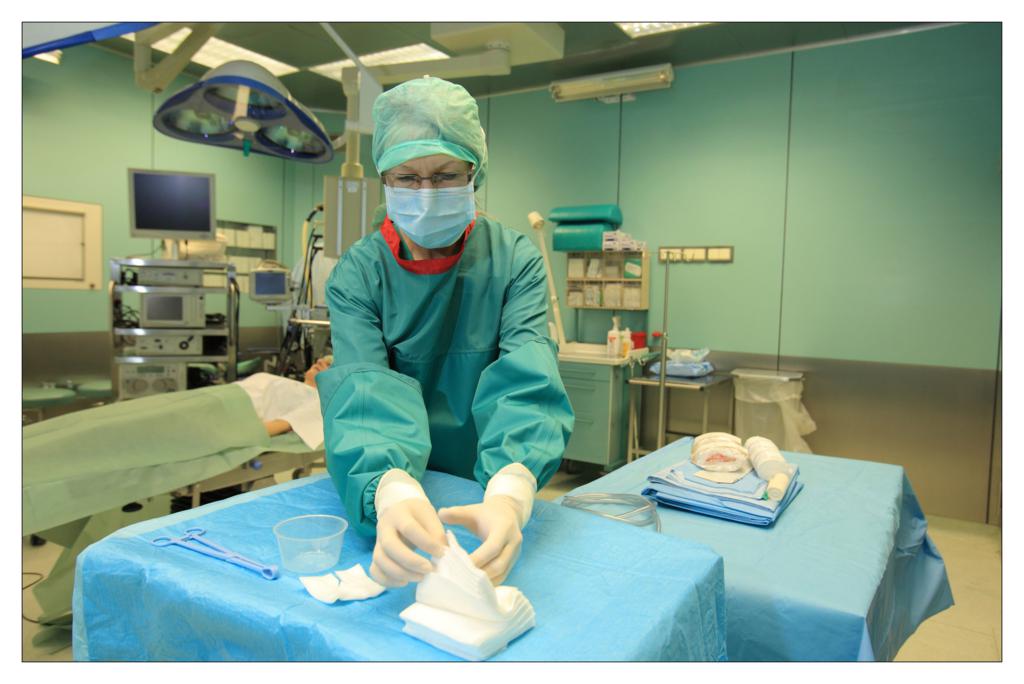
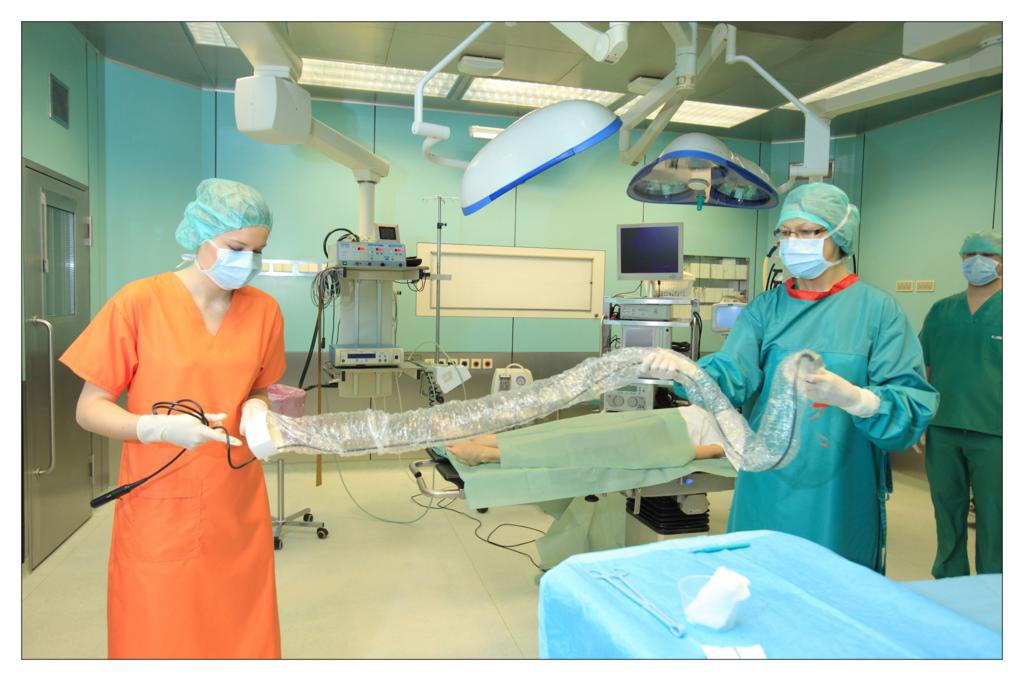
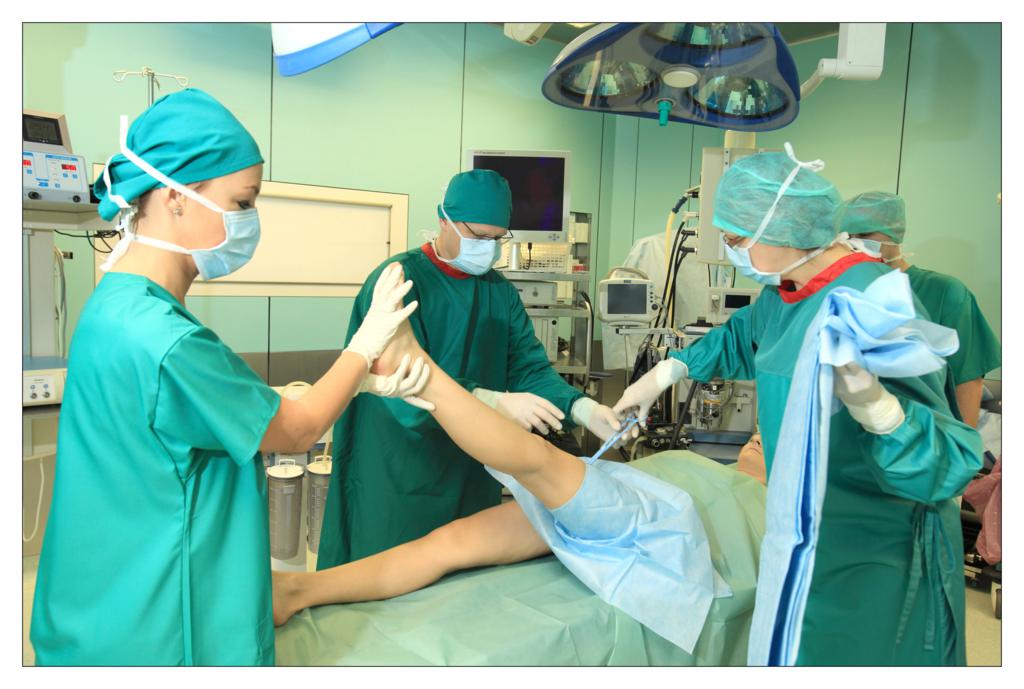
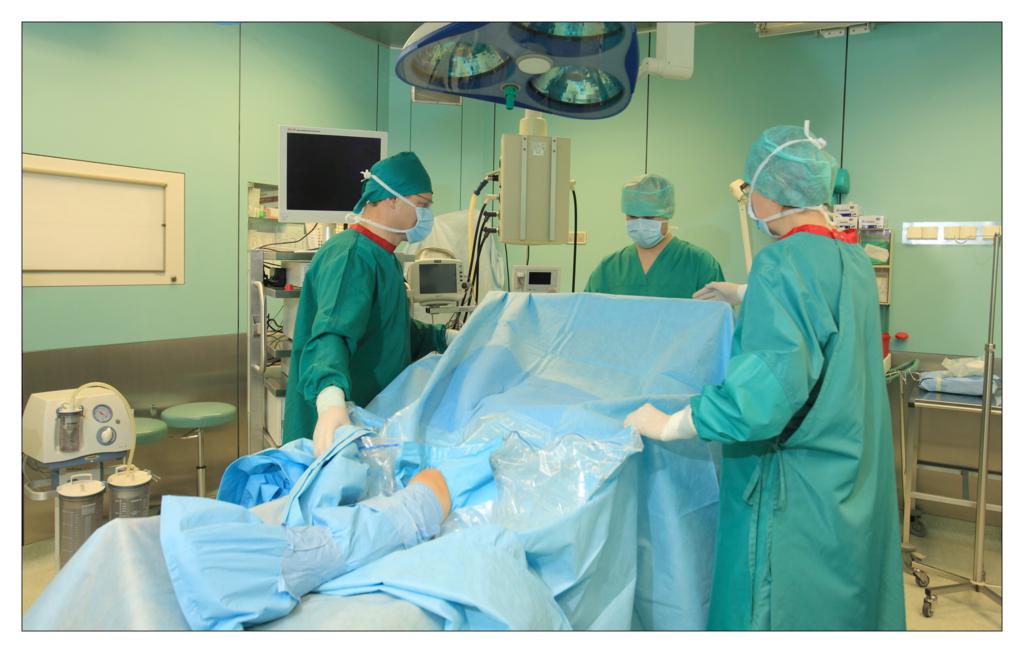
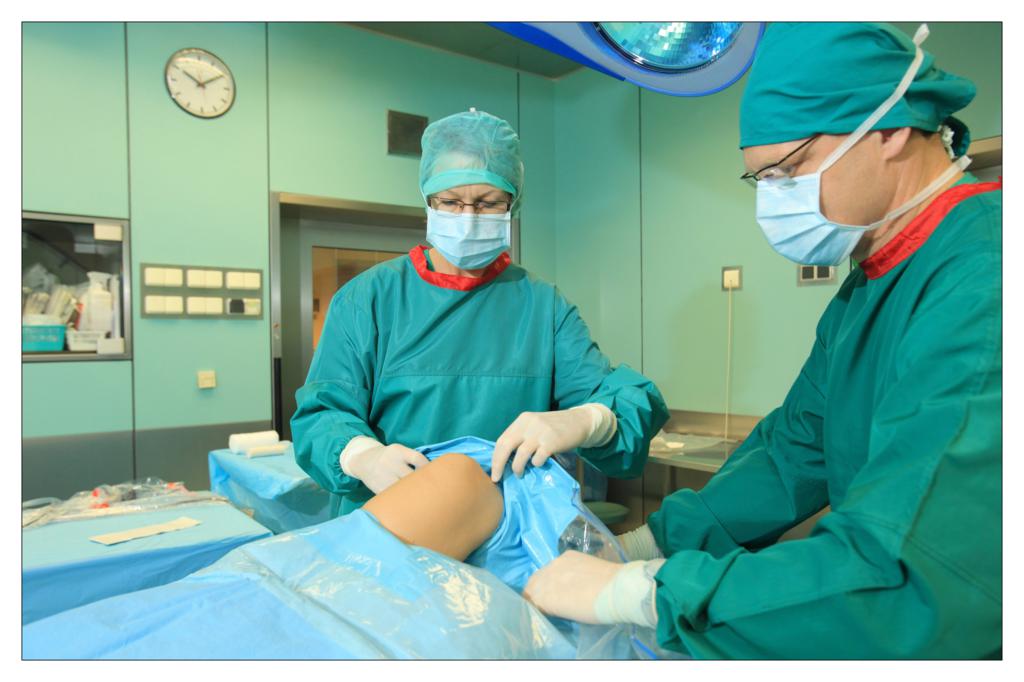
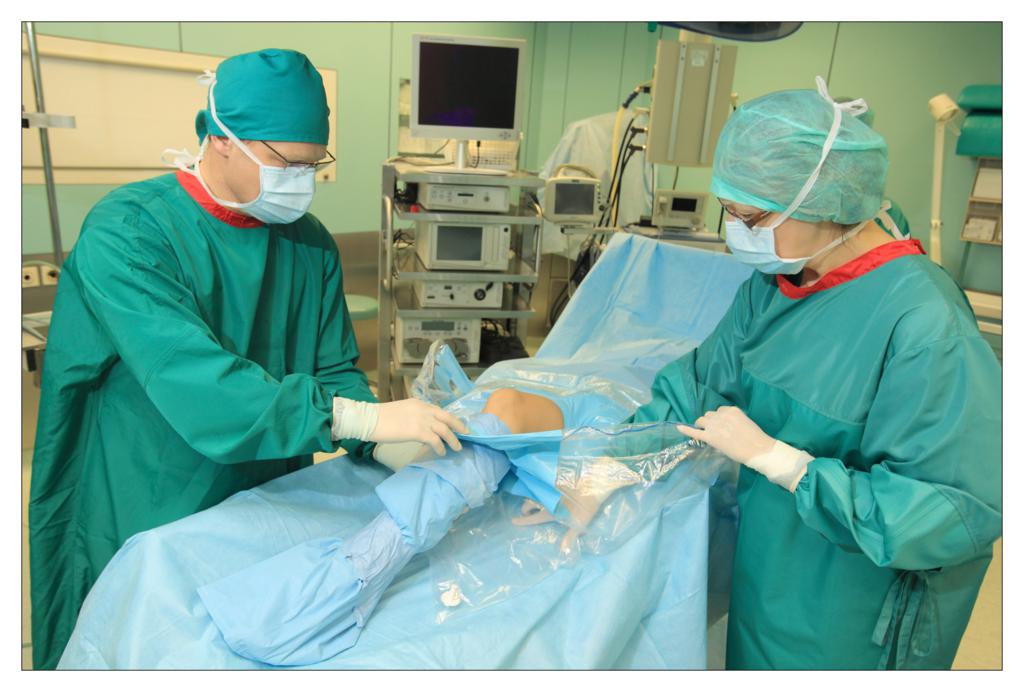
Taking an example of a knee arthroscopy procedure we want to show how to properly protect a patient using the components of the set.

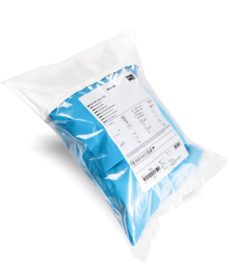
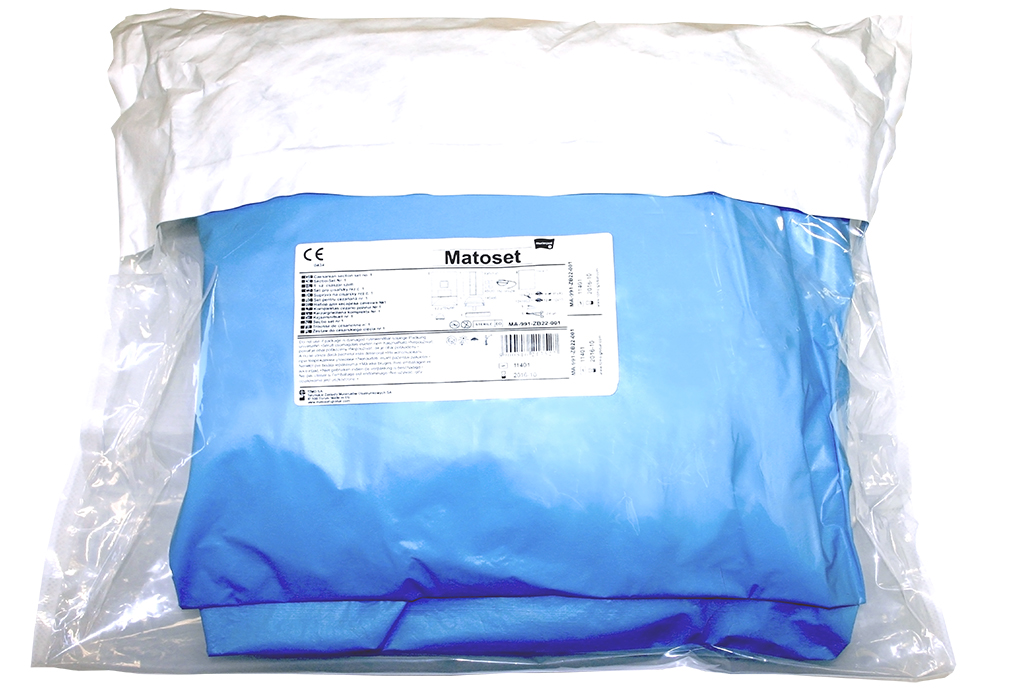
All the used elements are the components of the OP-set.

BEGINNING OF THE PROCEDURE

1
Photo 1. Sterile Matoset OP-set
2_1024x697
Photo 2. Opening the set by a circulating nurse
Fot. 3 Wyjęcie zawartości przez pielęgniarkę „czystą”
Photo 3. Taking out the content by a sterile nurse


4_1024x711
Photo 4. Laying out of all the components
Fot. 5 Ułożenie zestawu na stoliku instrumentarialnym
Photo 5. Putting all the necessary ele
Fot. 6 Zabezpieczenie przewodów endoskopu
Photo 6. Securing cables of the endoscope


Fot. 7 Separacja operowanej nogi pacjenta pierwszą warstwą
Photo 7. Separating the operated leg with a first layer
Fot. 8 Separacja operowanej nogi pacjenta drugą warstwą
Photo 8. Separating the operated leg with a second layer
Fot. 9, Zabezpieczenie podudzia przed włożeniem pokrowca
Photo 9. Covering the cower leg before applying a leg cover


Fot. 10 Zabezpieczenie podudzia przed włożeniem pokrowca
Photo 10. Covering the lower leg before applying a leg cover
Fot. 11 Zabezpieczenie pokrowca na podudziu pacjenta
Photo 11. Fixing the leg cover on the lower leg
Fot. 12 Zakładanie serwety głównej
Photo 12. Fixing the main drape


Fot. 13. Formowanie worka na płyny
Photo 13. Forming the liquid pouch
Fot. 14 Formowanie worka na płyny
Photo 14. Forming the liquid pouch
Fot. 15 Podłączenie drenu odprowadzającego płyny z worka
Photo 15. Connecting the drain to the liquid pouch


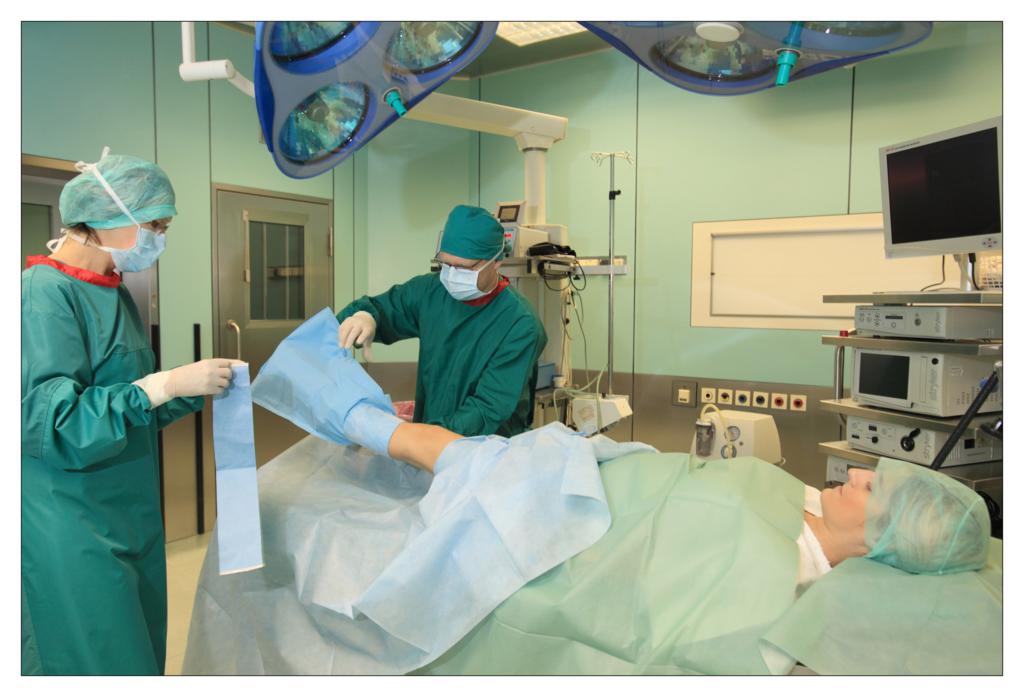
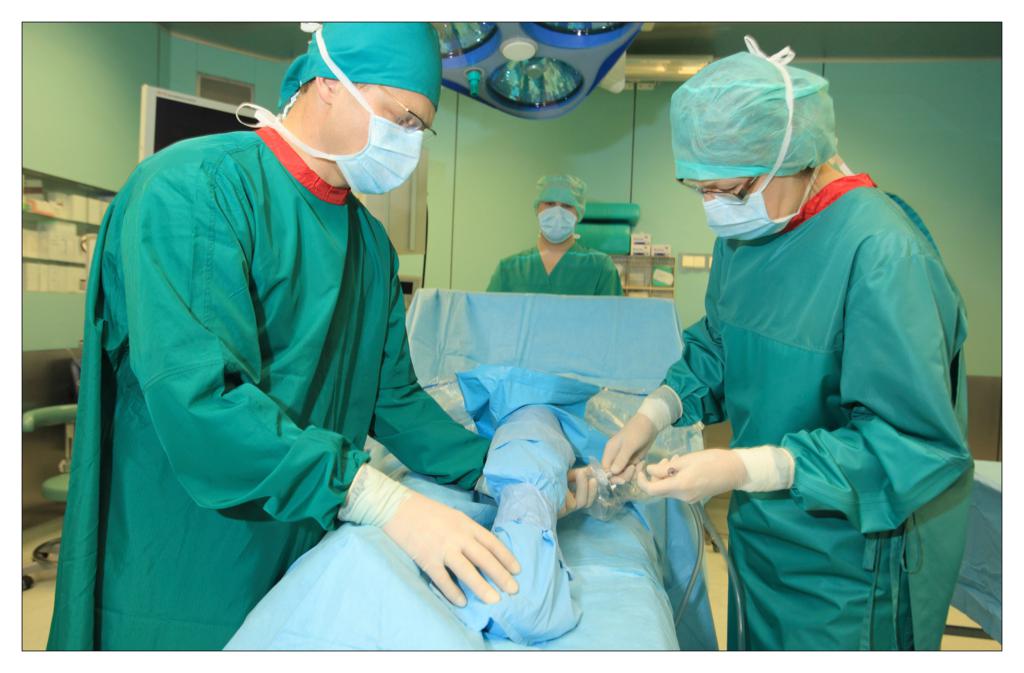
FINISHING THE PROCEDURE

Fot. 16 Zapakowanie zawartości po zakończeniu zabiegu
Photo 16. Wrapping all the components after the procedure
Fot. 17 Zapakowanie zawartości po zakończeniu zabiegu
Photo 17. Wrapping all the components after the procedure

Ask about this solution